Get help
Browse our collection of educational articles.

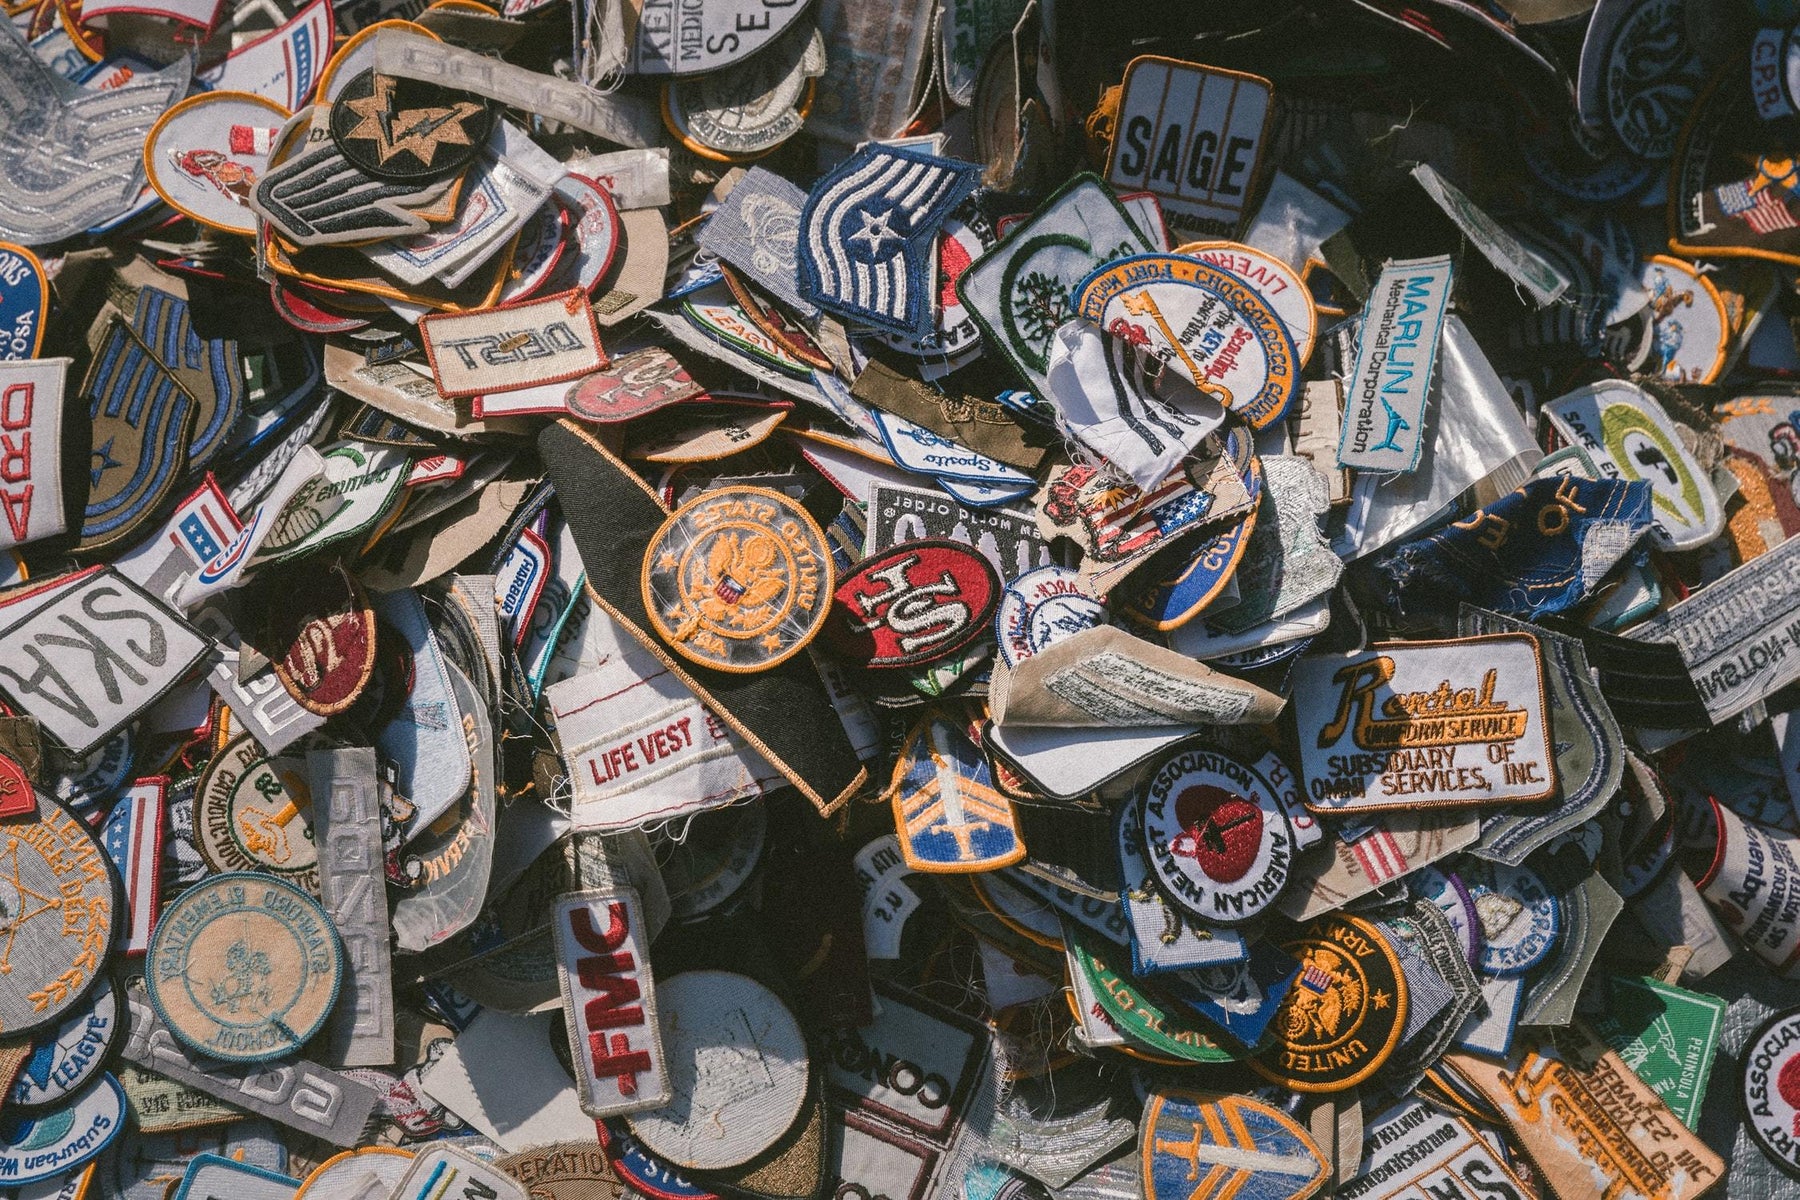
Embroidered patches are simple and easy to create with your embroidery machine and can be very profitable. You can easily embroider unique and high quality patches with simple low cost supplies to increase your embroidery business profits.
Embroidery Supplies Needed:
Directions:
|
Step 1
Hoop a piece of StickyStitch Peel & Stick Stabilizer. Once it's hooped, score the wax paper and peel it off to reveal the sticky stabilizer underneath. |
 |
|
Step 2
Choose your Pre-Made Blank Patch (in this example we used a 4" square patch). On your embroidery machine, stitch the outline of the patch on the StickyStitch Peel & Stick Stabilizer. |
 |
|
Step 3
Take your patch and place it over the outline you just embroidered. This will center the patch and make sure its straight. |
 |
|
Step 4
Embroider your design on the patch. We recommend using a size 11 or 12 sharp point needle. |
 |
|
Step 5
When done, remove the patch from the stabilizer and you now have a completed sew in patch. To heat seal the back and create an iron on patch, move on to step 6. |

|
|
Step 6
Take a piece of Fuse-N-Bond Heat Seal Film and cut it out so it's slightly smaller than your patch. |
 |
|
Step 7
With the wax paper facing up, use an iron with a temperature of 260 degrees and press and hold for about 4 seconds. Wait for the fuse-n-bond and patch to cool. |
 |
|
Step 8
Once cool, slowly pull off the corner of the wax paper. If the fuse-n-bond comes up with the wax paper, you either did not use enough heat and pressure, or you did not give it enough time to cool. |
 |
|
Step 9
You now have a professional looking patch that can be ironed onto any garment. |
 |
Once you have your patches finished, it’s time to start selling them! The best way to maximize your profits is by setting up an online store where people can buy directly from you rather than having them buy through a third-party site like Etsy or eBay. This way, you keep more of each sale and don’t have to pay any commissions or fees on each transaction.
Additionally, consider offering bulk discounts if customers purchase multiple patches at once; this will encourage them to buy more and increase your overall profits as well!
Comments
Leave a comment