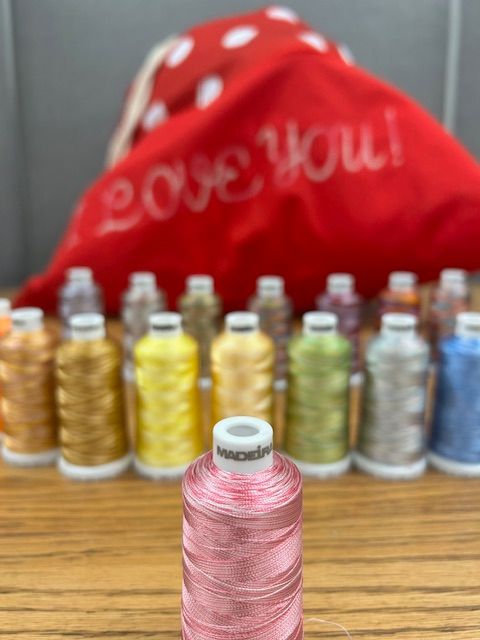
Creating a Valentine's Day sack is a fun and creative way to celebrate love while showing off your embroidery skills. Using Madeira’s variegated embroidery thread from AllStitch adds a colorful, eye-catching touch to make your project special. Follow this step-by-step tutorial to craft a beautiful sack you can use as a gift bag, decoration, or keepsake.
Materials Needed
-
StickyStitch Peel and Stick Tear-Away Stabilizer: Perfect for securely holding your fabric when hooping the sack.
-
Embroidery Machine: Any machine with a 4x4 or larger hoop will work
-
Embroidery Design: Hearts, love messages, or floral designs work perfectly
-
Embroidery Needle: Check the manufacturer's recommendations for each type of thread.
-
Scissors: For trimming threads and stabilizer
-
Seam Ripper: for removing the basting stitches
Step 1: Prepare Your Materials
-
Select Your Design: Download or digitize a Valentine-themed embroidery design. A heart motif or a "Be Mine" message works well.
-
Prepare and apply the Stabilizer: Cut a piece of StickyStitch tear-away stabilizer slightly larger than your hoop. Turn the Valentine's Day sack inside out. Gently peel the release paper away to reveal the sticky surface. Remove only a portion of the release paper at a time with large hoops. Press the adhesive side of the Peel and Stick tear-away stabilizer on the inside of the sack.
-
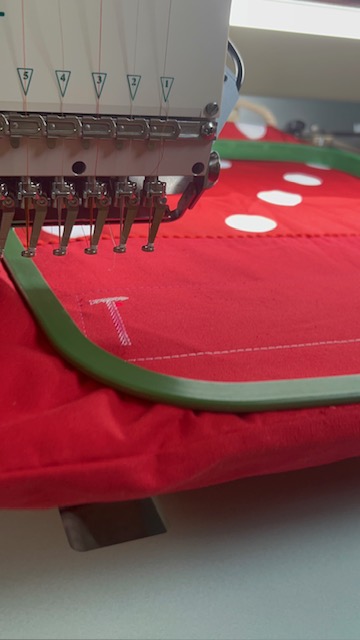
Position the Sack: Turn the sack right side out, place the bottom hoop inside the sack, and press the top hoop on securely. As you are hooping, ensure that both layers of the sack are secure and snug.
-
Mark the center of the design on the sack with a marking utensil.
Step 2: Embroider the Sack
-
Set Up Your Machine: Load the design into your embroidery machine and position it within the embroidery area. Adjust the size if necessary.
-
Run a Test Stitch: Before stitching on the sack, test the design on a scrap piece of similar fabric and with the same stabilizer to ensure the tension and colors are correct.
-
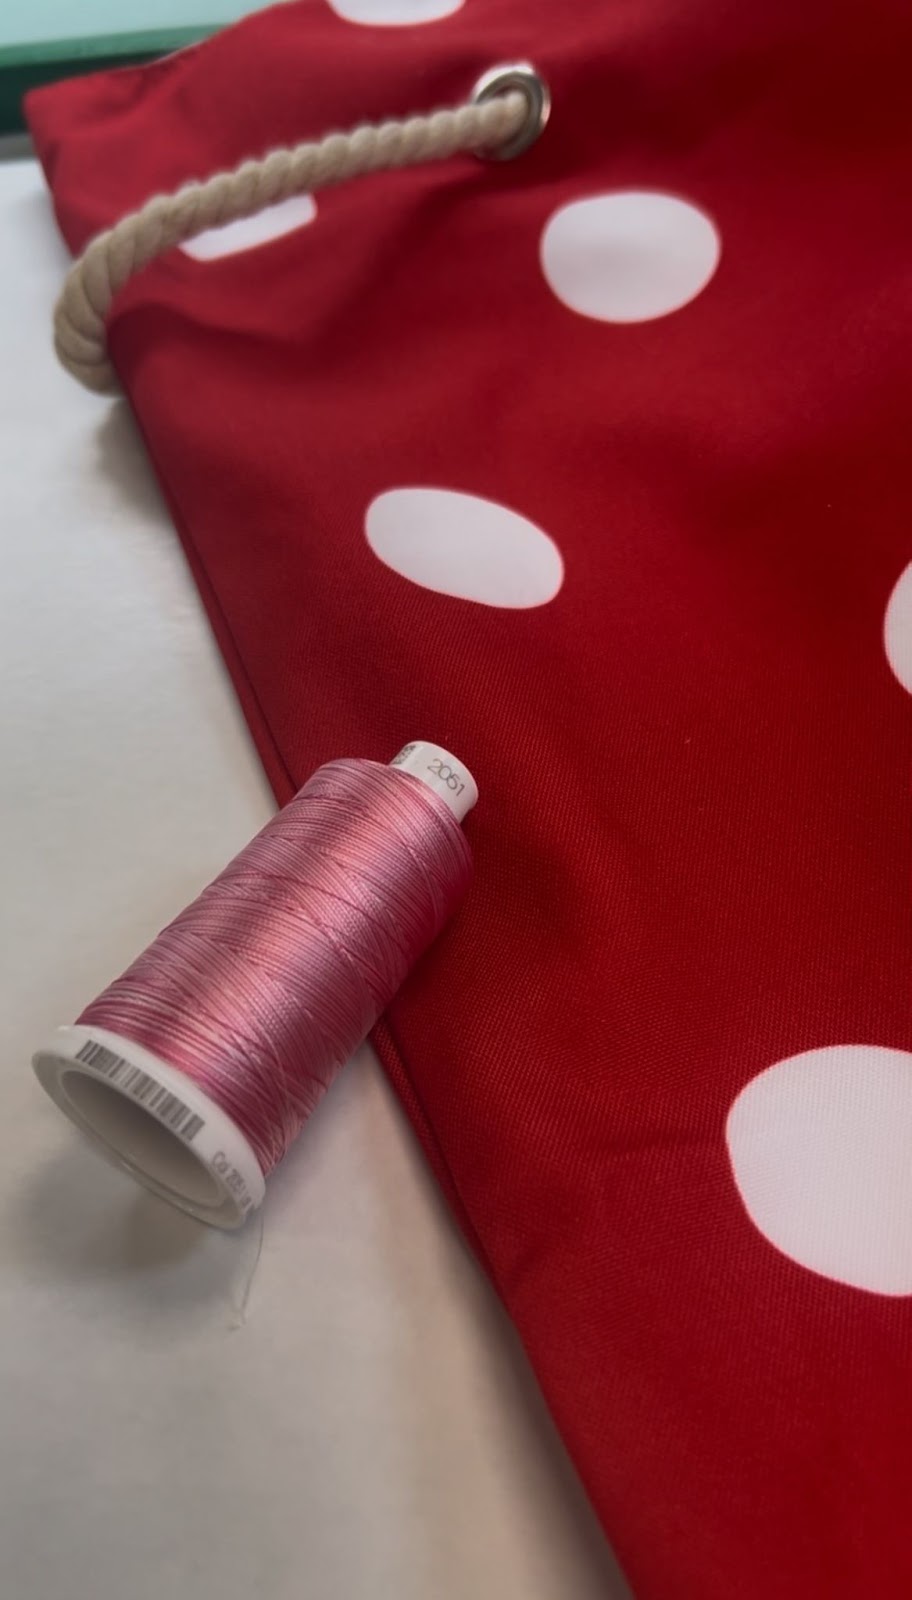
Embroider: Begin stitching your design. The variegated thread will create a stunning, multicolored effect as it stitches. Let the machine run its course, but keep an eye on the progress to ensure no snags or thread breaks.
Step 3: Finishing Touches
-
Remove Stabilizer: Carefully tear away the StickyStitch stabilizer from around the design. The tear away ensures clean edges without damaging the fabric.
-
Trim Threads: Use scissors to trim any excess thread on the front or back of the design.
-
Press the Sack: if needed, use a pressing cloth and a warm iron to press or steam away any hoop marks.
Step 4: Add a Personal Touch
You can personalize your sack by adding a recipient’s name or initials with the same or complementing colored variegated thread. Simply choose a script or block font and follow the same embroidery process for a one-of-a-kind gift.
Tips for Success
-
Testing: Running test stitch-outs on like-colored and similar fabrics ahead of time can save you time and money in the end.
-
Stabilizer Choice: StickyStitch tear-away stabilizer makes it easy to embroider hard-to-hoop items like large sacks.
-
Experiment with Placement: Position your design off-center or near the sack’s opening for a unique look.
Celebrate Valentine’s Day with a creative and heartfelt gift that showcases your embroidery talent! Shop for Valentine’s Day sacks at AllStitch.com and elevate your designs with Madeira USA’s vibrant variegated embroidery thread.

Click to Watch the Video!
Looking for a creative and colorful way to celebrate Valentine’s Day? 🌟 Watch this short tutorial to craft a stunning Valentine’s Day sack using Madeira’s variegated embroidery thread from AllStitch! 💌 Whether it's for a gift, decoration, or keepsake, this project will impress.